Precision Guide to LED Module Replacement in Data Centers: Procedures, Calibration, and Safety
- Why LED Module Replacement in Data Centers Matters
- Understanding the Types of LED Modules Used
- Safety First: Pre-Replacement Checks & Preparation
- Diagnosing What’s Actually Gone Wrong
- Step-by-Step: Module Replacement Procedure
- Solving Color Discrepancy Problems
- Calibration: Don’t Skip This Step
- Maintenance Plans and Documentation
- Frequently Asked Questions (FAQ)
Key Takeaways
| Key Question | Summary Answer |
|---|---|
| How do you safely replace LED modules in data centers? | Follow a shutdown protocol, wear PPE, and isolate power before touching any components. |
| What tools and equipment are required for the procedure? | Use insulated tools, multimeters, and compatible modules based on spec sheets. |
| How can you prevent color discrepancies after replacement? | Match module batch numbers, use color-matching tools, and recalibrate if needed. |
| What calibration techniques ensure consistent brightness? | Apply single-point correction and software-based brightness equalization methods. |
| How do environmental factors affect LED performance? | High temperature and humidity degrade performance—use rated luminaires and climate control. |
| What maintenance practices extend the lifespan of LED systems? | Clean fixtures regularly, inspect for faults, and schedule periodic testing. |
| How should you document replacements and calibrations? | Log every module change, including location, time, reason, and calibration values. |
| Why is training essential for LED module handling? | Improper handling leads to damage—ensure staff are trained in diagnostics and handling. |
1. Why LED Module Replacement in Data Centers Matters
Reliable lighting isn’t decorative in a data center — it’s functional, essential, and part of critical infrastructure. When a module starts flickering or fails completely, it’s not just annoying, it risks operational safety and maintenance errors.
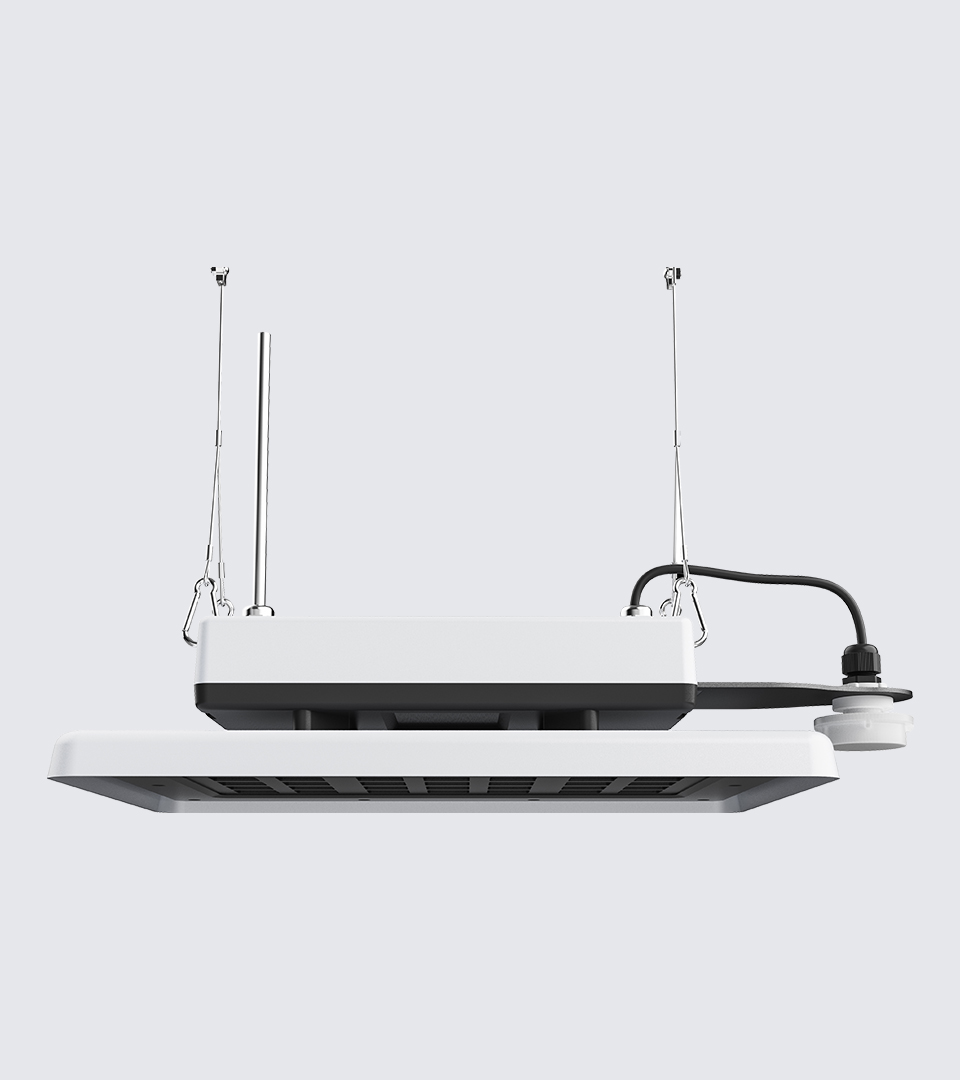
Data centers use advanced luminaires like the Squarebeam Elite, which are engineered for heat management, low-glare performance, and long-term efficiency. Replacing these modules requires care, not shortcuts.
- Lighting disruptions delay maintenance and mislead diagnostics.
- Mismatched modules lead to uneven light distribution and false alarms in smart systems.
- Poor replacements can trigger cascading electrical issues.
2. Understanding the Types of LED Modules Used
In data centers, LED modules aren’t one-size-fits-all. You’ll see modular PCBs integrated into:
Common reasons for failure include:
- Thermal fatigue of solder joints
- Power surge or driver failure
- Environmental stress from heat or humidity
- Aging of mid-power LEDs
3. Safety First: Pre-Replacement Checks & Preparation
You don’t go into a rack room unprepared. Same with lighting maintenance.
Checklist Before Replacement:
- Confirm system is powered down from the panel
- Put on insulated gloves and safety glasses
- Ensure environment is below 80% RH (relative humidity)
- Confirm ESD-safe handling protocol
For enclosed luminaires, venting residual heat before opening is critical.

Tools to prep:
- Multimeter (for live line checks)
- Torx/screwdriver kit
- Module datasheets and replacements
4. Diagnosing What’s Actually Gone Wrong
Not all flickering means “replace now.” Sometimes it’s driver-related. Sometimes it’s just ambient interference.
Basic Diagnostic Steps:
- Visual inspection (discoloration, swelling)
- Current/voltage checks at PCB level
- Comparison against datasheet values
- Smart system error logs (if available)

If you’re unsure, replace a suspect module with a known-good unit and compare outputs before doing mass replacement.
5. Step-by-Step: Module Replacement Procedure
Even experienced techs mess this up under pressure. Here’s the no-shortcuts way:
- Power off circuit
- Vent heat inside housing (especially in IP65 fixtures)
- Remove diffuser or housing cover
- Disconnect driver and inspect terminals
- Unscrew/remove PCB/module from heat sink
- Clean surface, reapply thermal paste if needed
- Install new module and secure
- Reconnect driver, close up, and test
Each of those steps has margin for error. Over-torque screws? Crack the board. Forget thermal paste? Burnout in 3 months.
6. Solving Color Discrepancy Problems
One of the most frustrating issues — mismatched colors after replacement.
Why this happens:
- LED binning inconsistencies
- Old vs. new batch drift
- Environmental aging of older modules
How to avoid it:
- Always log bin codes and use same batch when possible
- Replace in zones, not one-by-one
- Use a lux meter or visual comparator for uniformity
7. Calibration: Don’t Skip This Step
Post-replacement, you’ll need to calibrate if you care about uniformity. In smart systems, this isn’t optional — uneven light throws off occupancy sensors, daylight harvesting, even AI thermal maps.
Methods:
- Manual lux balancing (simple and cheap)
- Software calibration tools (for smart fixtures)
- Single-point correction using custom drivers
For example, Squarebeam Elite supports smart tuning via integrated driver interface.
8. Maintenance Plans and Documentation
An unlogged module swap is a future technician’s nightmare. You need a history — what module, where, why, what batch, and how it was calibrated.
Documentation Best Practices:
- Maintenance sheet per row/rack zone
- QR-tagged luminaires tied to cloud record
- Calibration logs with timestamp and lux targets
Scheduled inspections also reduce emergency replacement events. Clean lenses, check seals, and track luminous flux degradation.
Frequently Asked Questions (FAQ)
Q: Can I replace just one LED module in a group?
A: Technically yes, but always check for bin match and lumen output. It’s often better to replace modules in batches.
Q: How often should modules be checked in a data center?
A: A visual check every 3–6 months, with a full lux performance test annually.
Q: What tools are required to calibrate brightness after replacement?
A: A lux meter, ideally with data logging, or a smart driver interface tool if supported.
Q: What’s the biggest mistake people make during replacement?
A: Rushing the thermal coupling step or forgetting ESD precautions — both shorten lifespan drastically.
Q: Is there a standard replacement cycle for LED modules?
A: No hard standard. Expect 50,000 hours at 70% lumen maintenance, but test conditions and quality matter.